
Do you have boxes of old VHS and camcorder tapes tucked away in the attic or a spare room, gathering dust while holding priceless family memories? If so, you’re not alone. Here’s how to digitise VHS Tapes at home!
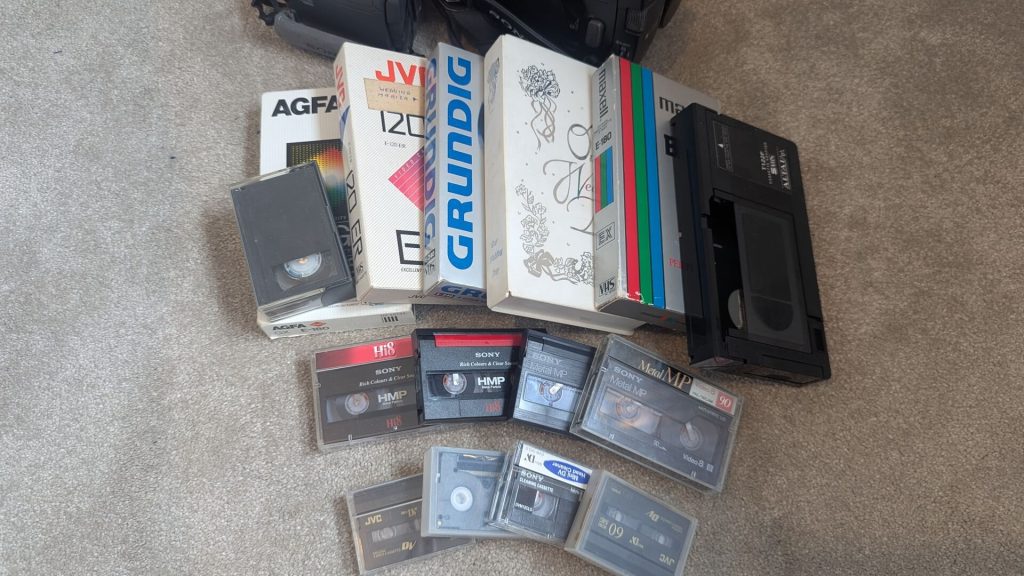
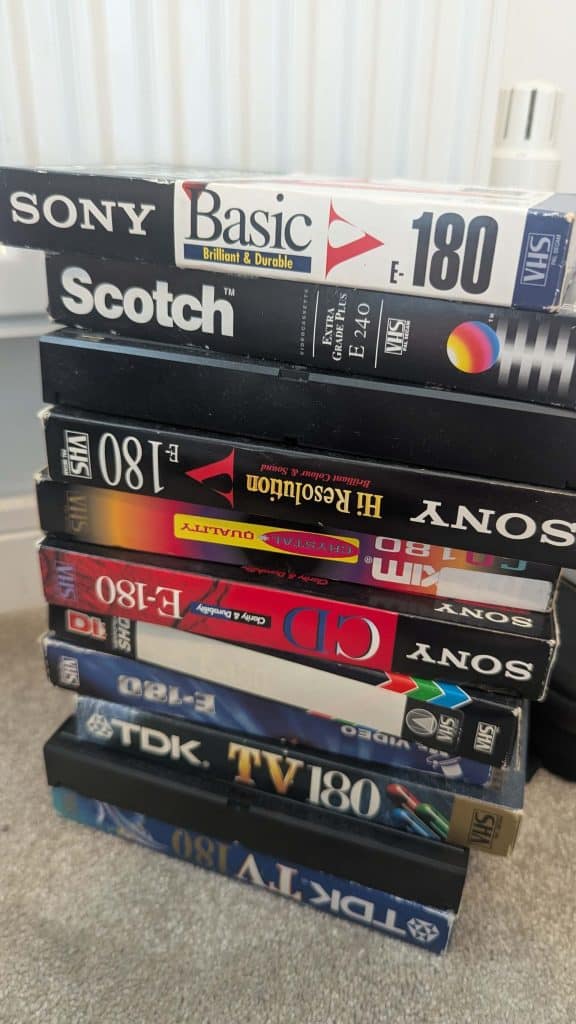
I’m Dan, and my spare room currently holds around 40 VHS tapes and around 20 camcorder tapes of all different sizes.
It’s a treasure trove from the past, all thanks to my step-grandad, who we called Pops.
Before our daughter was born, I spent hours converting most of these analog tapes into high-definition digital files. We still have a backlog, but I’m slowly working through them.
Now that we’re surviving 9-month-old behaviour changes and chasing a baby around the house, I simply don’t have the time!
Digitising tapes is a massive, time consuming job.
Copying a 4-hour tape happens in real-time, and then editing, splitting, and exporting the files takes even longer.
There are no shortcuts.
BUT if you are stuck while the baby naps (or while the wife is pregnant and you’re in nesting mode like I was!), here is my exact, budget friendly setup for how to digitise old VHS tapes at home in HD.
The Legacy of Pop’s and his Sony Camcorder
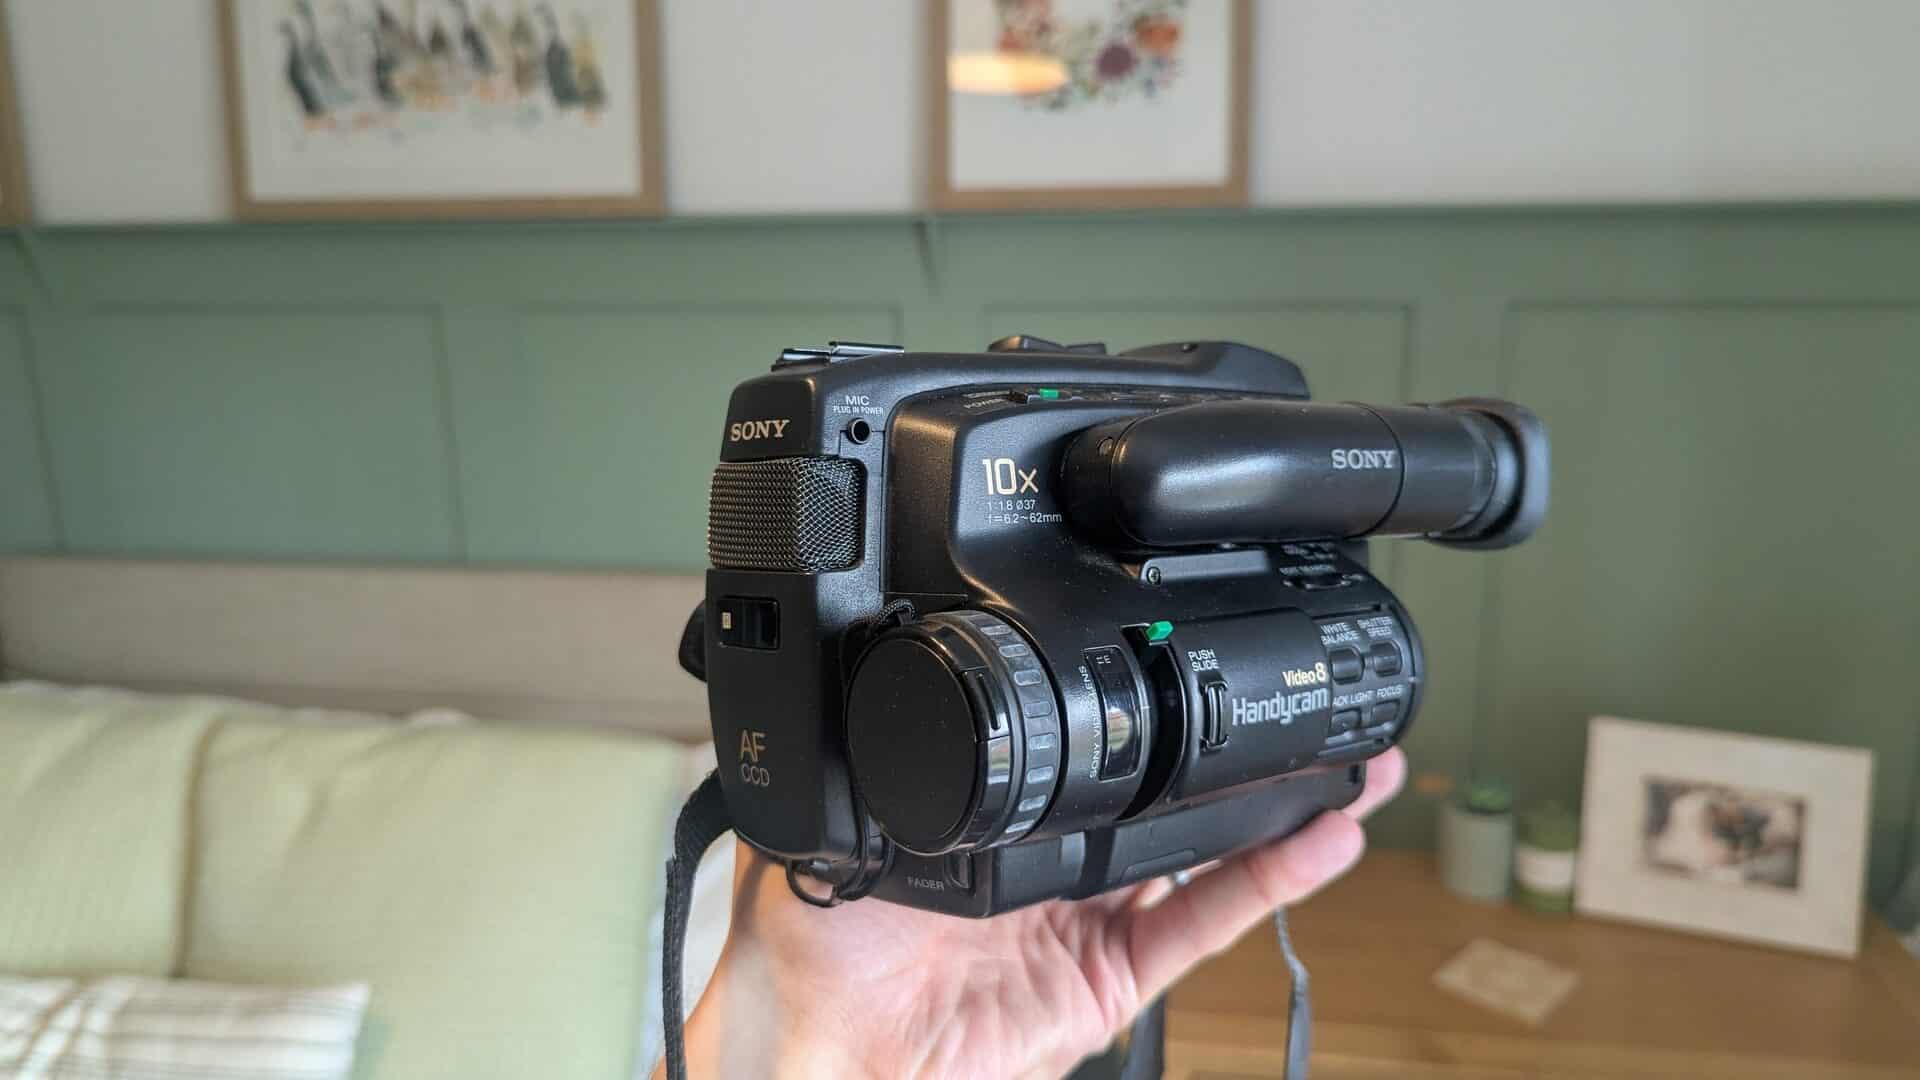
Pop’s was rarely without his trusty (and rather bulky) black Sony camcorder back in the 90s. He was a former prison officer, a giant of a man, and always had that lens aimed at me and my sister.
Between 1992 and 2005, he wasn’t just recording; he was preserving our childhood.
He’d painstakingly link his camcorder to the TV, hit play on the camera, record directly onto a blank tape in the VHS player.
He’d often make three or four physical copies to share with relatives. Some of our Disneyworld trips stretched to four hours per tape, meaning he must have spent days copying them.
In 2019, we sadly lost Pop’s after a long battle with Alzheimer’s. As the “media guy” of the family, all those boxes of tapes came to me.
It become my mission to rescue these memories from decay and bring them into the digital age.
Moving Beyond “Good Enough” Quality
My journey to digitise these tapes actually started about ten years ago when I first got given the tapes. I bought a cheap USB VHS-to-digital converter from eBay.
The results were awful. The audio buzzed, the video came though ok, but it wasn’t good enough to put on a HD TV which was the aim.
It felt like a disservice to all of Pop’s hard work.
I knew I needed a better solution, something that created HD-quality copies so I could confidently part with the physical plastic tapes and declutter the spare room.
My plan was thus:
- Digitise the Tapes to High Definition (HD): Ensuring clarity and compatibility with modern TVs and smartphones.
- Double-Cloud & Physical Backup: Save the raw files onto a physical hard drive and upload them to OneDrive so the whole family could stream them instantly.
Equipment Needed to Digitise VHS Tapes
You don’t need a professional £1,000 restoration studio to do this.
Here is the exact equipment setup I use to get high-quality digital transfers on a budget:
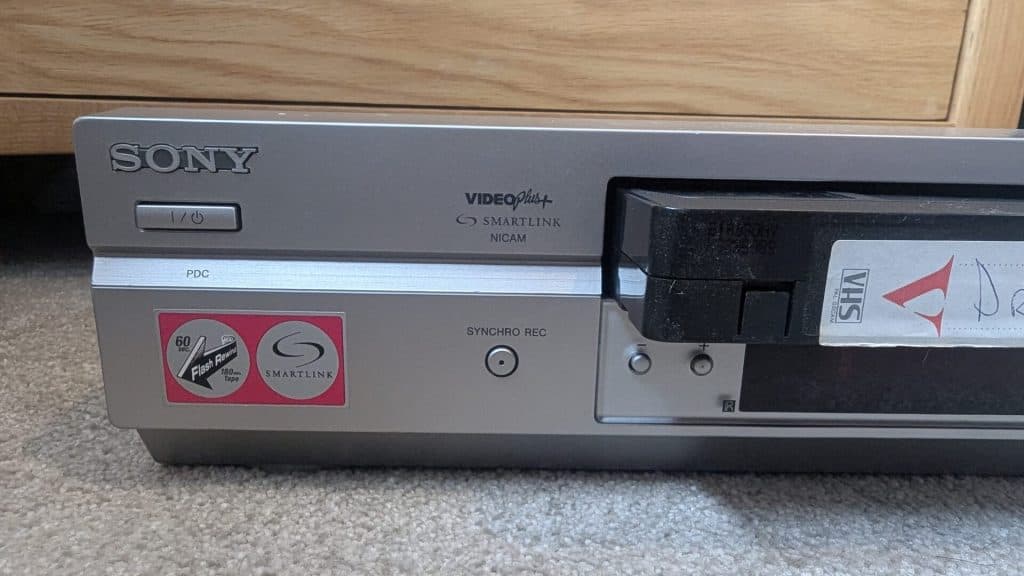
- A working VHS Player: The cornerstone of your setup. I picked mine up off Facebook Marketplace for £10! Check it, using a blank tape or one you don’t care about, you don’t want it to eat your tapes!
- Working Camcorder (with RCA output): Essential if you are converting smaller tapes like VHS-C or Hi8. If not, you don’t need this. I’ve borrowed some off friends, ask about, loads of people have old cameras lying around.
- A Laptop or PC: Needs decent processing power & memory to handle real-time video capture and editing.
- Video Editing Software: I use Movavi Video Editor (Mine is an old Version 15), which works great for capturing analogue signals. Plus, unlike Adobe, you can just buy it outright for a lifetime for around £90.
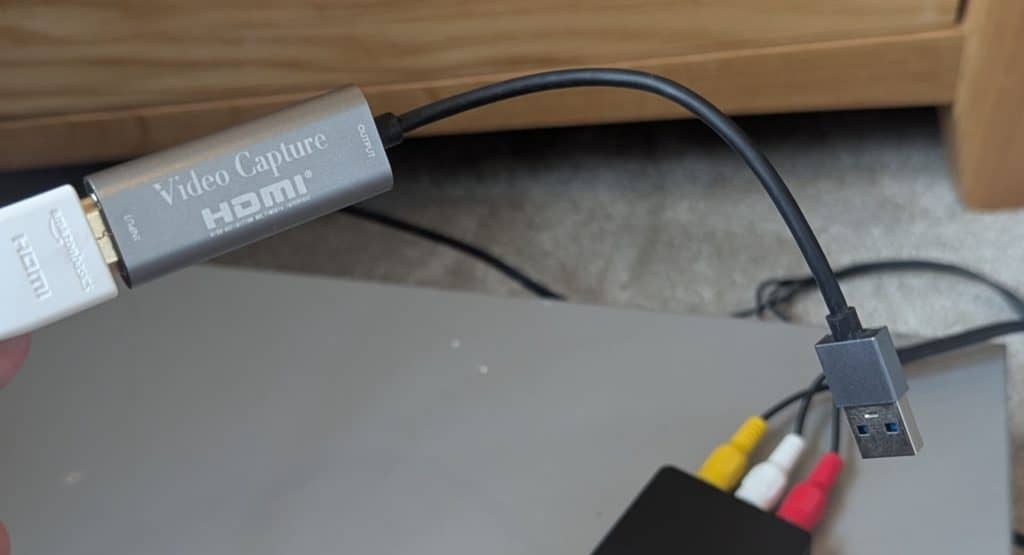
- HDMI to USB Capture Card: Search Amazon for “HDMI Capture Card to USB 2.0” (these cost around £8–£12.99). It tricks your computer into thinking your VHS player is an external webcam!
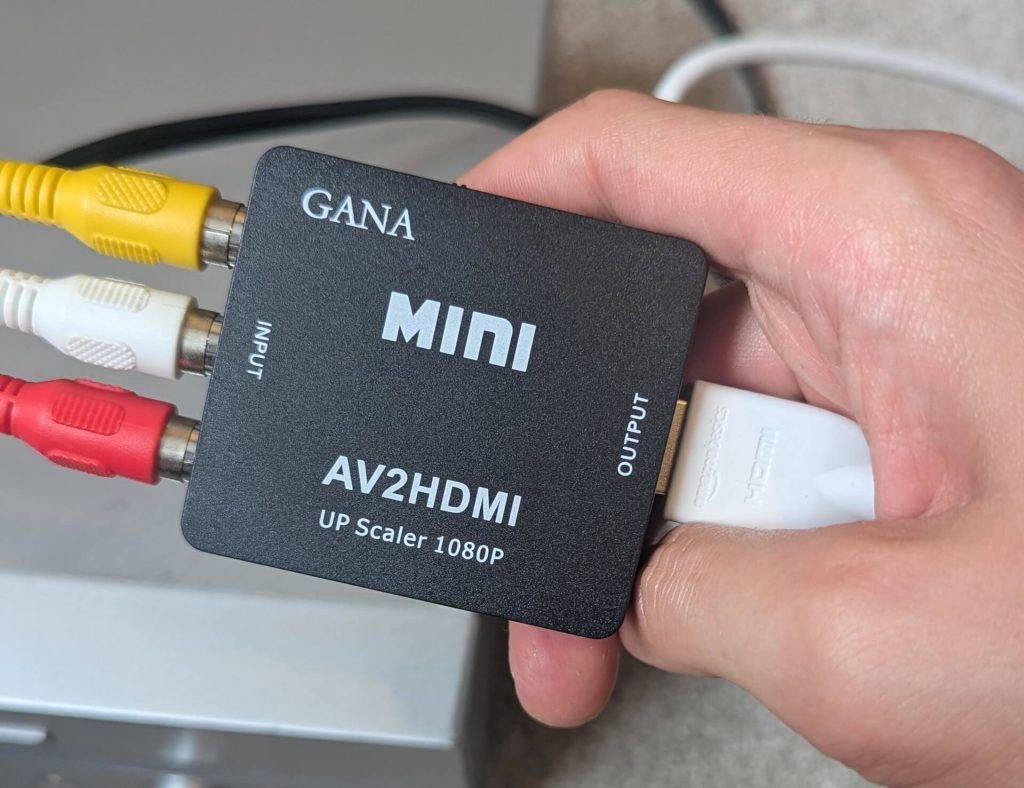
- RCA to HDMI Converter / Up Scaler: Crucial piece of kit! It takes the old analog red, white, and yellow cables from your VHS player and converts the signal into digital HDMI while upscaling the picture. I got the GANA one for £8.99 from Amazon.
- Standard RCA Leads (Red, White, Yellow): To link the VHS player to the converter. I had these in Pops’s old camera case.
- HDMI Cable: To connect the RCA converter to your USB capture card.
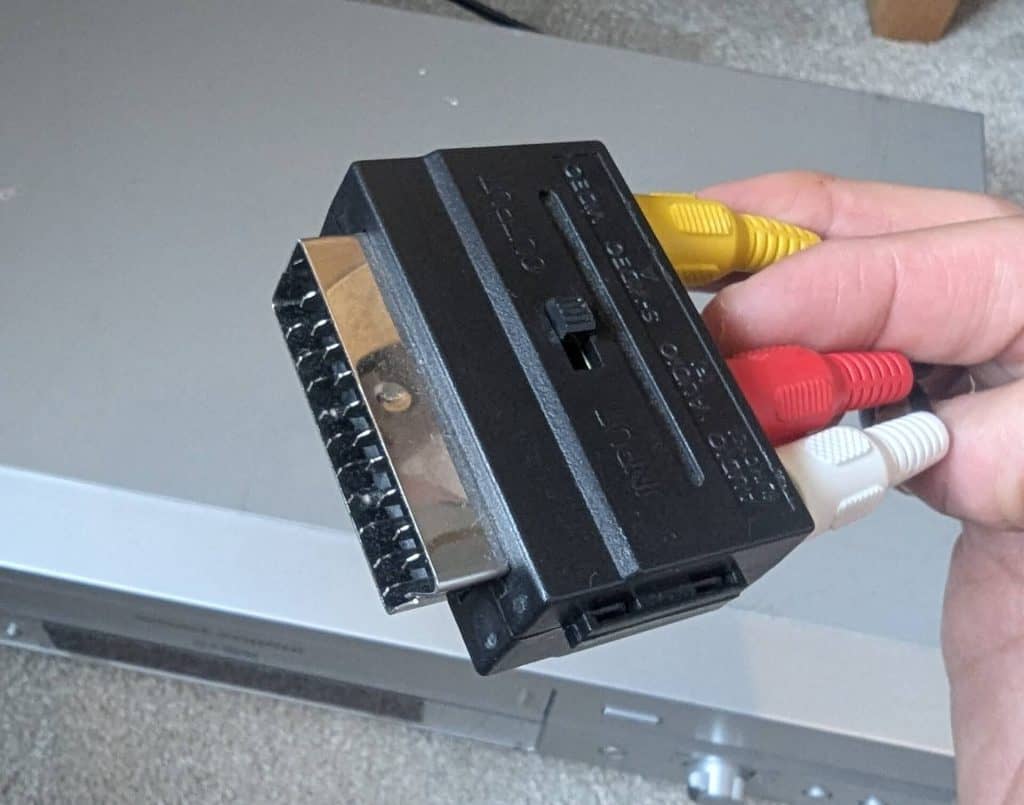
- Scart to RCA Adapter: The VHS Player I found only had 2 scart outputs so I’m working with what I have. Around £5.99.
Step-by-Step Setup: Connecting the Chain
Here is the exact physical workflow to connect your old tech to a modern computer:
My Exact Hardware Chain:
- VHS VCR Player (Outputting via SCART).
- SCART-to-RCA Adapter (Fitted into the back of the VCR).
- RCA AV Cable (Yellow, White, Red plugs).
- RCA-to-HDMI Upscaler Box (Converts analog 576i to an upscaled HD digital signal in real time).
- HDMI Lead.
- HDMI-to-USB Video Capture Dongle (Plugs straight into the PC).
Why Hardware Upscaling Beats Software (And a Bonus TV Trick)
By upscaling the signal to HD before it hits the USB capture card, two great things happen:
- Similar Quality & No CPU Lag: I find the standalone hardware box does a good job of sharpening and upscaling the picture. I found software that can do it, but it takes a while to render / export and when it does I find it to be quite pixelated. With the up scaler your computer captures the clean HD file instantly, saving you time!
- Instant TV Previewing: If we just want to sit on the couch and watch Pops’ old tapes without recording them to a hard drive, I simply unplug the HDMI cable from the USB stick and plug it straight into our 4K TV or monitor. I did this first to simply work out what was on the tapes, I had 40 tapes to work through and some are called things like “France 2002 plus a bit of Florida tape 4” so I needed to preview them first to work out what was going on.
Real-Time Capture & Movavi Software Setup
Once everything is plugged in physically:
- Open Movavi Video Editor on your computer.
- Select “Capture Video” and choose your USB Capture Card as the video input source.
- Press Play on the VHS deck and hit Record in Movavi.
The Reality Check: Real-Time Capturing Takes Time
Because VHS is an analog format, there are no high-speed shortcuts.
A full 4-hour tape takes exactly 4 hours to capture onto your hard drive.
When my wife was pregnant, this was my go-to after work task.
I’d get in, set a tape rolling, make sure my computer’s sleep/standby settings were turned OFF, and go about my household chores, I walked the dog, cooked dinner, and ironed clothes while Movavi did the work in the background!
Now that our daughter is here, finding window to even get it started is tough, so take advantage of downtime whenever you have it!
Editing, Enhancing, and Splitting the Files
Once the capture finishes, save the raw file.
Because Pop’s often recorded three or four different family events on a single 4-hour tape, the raw capture files can be massive (20GB+).
I then work with Movavi’s editor timeline to:
- Segment & Cut: I chop the massive files file into smaller, individual clips labelled by year or event (e.g., “1995 Disneyworld Trip – Day 1.mp4”). It makes sharing clips with family much easier! Nobody wants to sit and watch a 4 hour long homemade holiday tape.
- Adjusting Colours & Contrast: Old tapes stored in UK attics suffer from temperature changes over 30 years. Movavi lets you tweak contrast and color balance to breathe fresh life into faded footage.
- Reducing Flicker & Edge Smoothing: Using software filters helps stabilise old analog tracking lines.
💡 A Note on Upscaling: VHS resolution is low (roughly 480i standard definition). While exporting to 1080p makes the file display cleanly on modern smart TVs, it won’t magically invent crisp details that weren’t recorded in 1985. I like how the up scaler doesn’t smooth it over and keeps the authentic blips, tracking marks, and tape pops, it’s part of the nostalgia!
The Reward: Preserving Priceless Memories
While converting old video tapes is a time consuming labour of love, the payoff is immense.
Seeing long-lost family holidays, awkward childhood birthday parties, and Pop’s smile appear in clear HD on a 55-inch living room TV, shareable with family across the world at the click of a button is super rewarding.
If you have a box of tapes sitting in your loft, don’t let tape decay ruin them. Grab an inexpensive converter setup, set a tape running, and start preserving your family history today!